Showing posts with label Photopolymer process. Show all posts

Tuesday, December 8, 2015

Sugar Skulls........ Making the plate

The design has moved from the brain to the hand.  The preparations have been made and now it's time to make the photopolymer plate.  Next to making rings, this process for making the mold is one of my favorite things to do,.

Photopolymer is a process taken from the printmaking world.  I use to do t-shirts using the photopolymer emulsion on a silk screen.  Instead of squeegeeing ink through a screen to create the finished design, it is used to create a reusable mold.  In both instances it is used to make multiples.

Photopolymer plates can be plastic or metal.  Both are covered with the light sensitive emulsion and both require the same finishing steps.  The plates can be different thicknesses from ones that create a shallow to a  very deep design,  Plastic plates will warp and harden over time.  Metal ones will last longer. Both should be oiled and kept in a cool place after use.

Okay, I've gabbed enough.  Here's the process.

Working in a room with very low lighting, place the transparency that contains the desired design on the emulsion side of the plate.  (The print should be as dark as possible.  Sometimes I tape two prints together.)  Create a sandwich by layering a hard piece of backing,  a spongy material, the plate with the design on it (if it contains lettering they must read backwards), and a piece of glass.  This sandwich is held together by clips which compress everything for the best contact of the plate and design.

The next step uses a UV light (but you can also go outside and dance around in the sun...... if you have some.)   I use the light.  Place the sandwich (glass side up) in the UV light (be sure not to look in when the light is on.)  Time for one minute.  Take the sandwich apart and head to the sink to brush the plate with a soft bristle brush. Scrub until the softened emulsion is brushed off.  (Brush gently or the design could be lost.)  The areas covered with the black design were protected from the light and will wash out.  The areas where the light was able to get through will harden and remain.  After brushing, rinse the piece to remove stickiness.  Pat dry and place back under the UV light to finish curing.

The plate is now ready to be used with the clay.


Monday, December 7, 2015

Sugar skulls - preparing the drawing for the photopolymer plate

Once the design has been decided on, it's time to make the photopolymer plate.  The plate is a piece of metal covered with a light sensitive emulsion.  It is kept in complete darkness until it's time to "cure" the plate and create the design.

The first step in the process is to take the finished design and print it onto a transparency sheet.  If you are as old as I am, you'll remember these as what was used to create a presentation on an overhead projector (those are obsolete too.)  The one thing that has to be remembered is that what ever is black in the drawing is what will be raised on the finished silver piece.  Sometimes it is during this step when I have a "Senior Moment" kick in.  (Too many of those..... moments!)
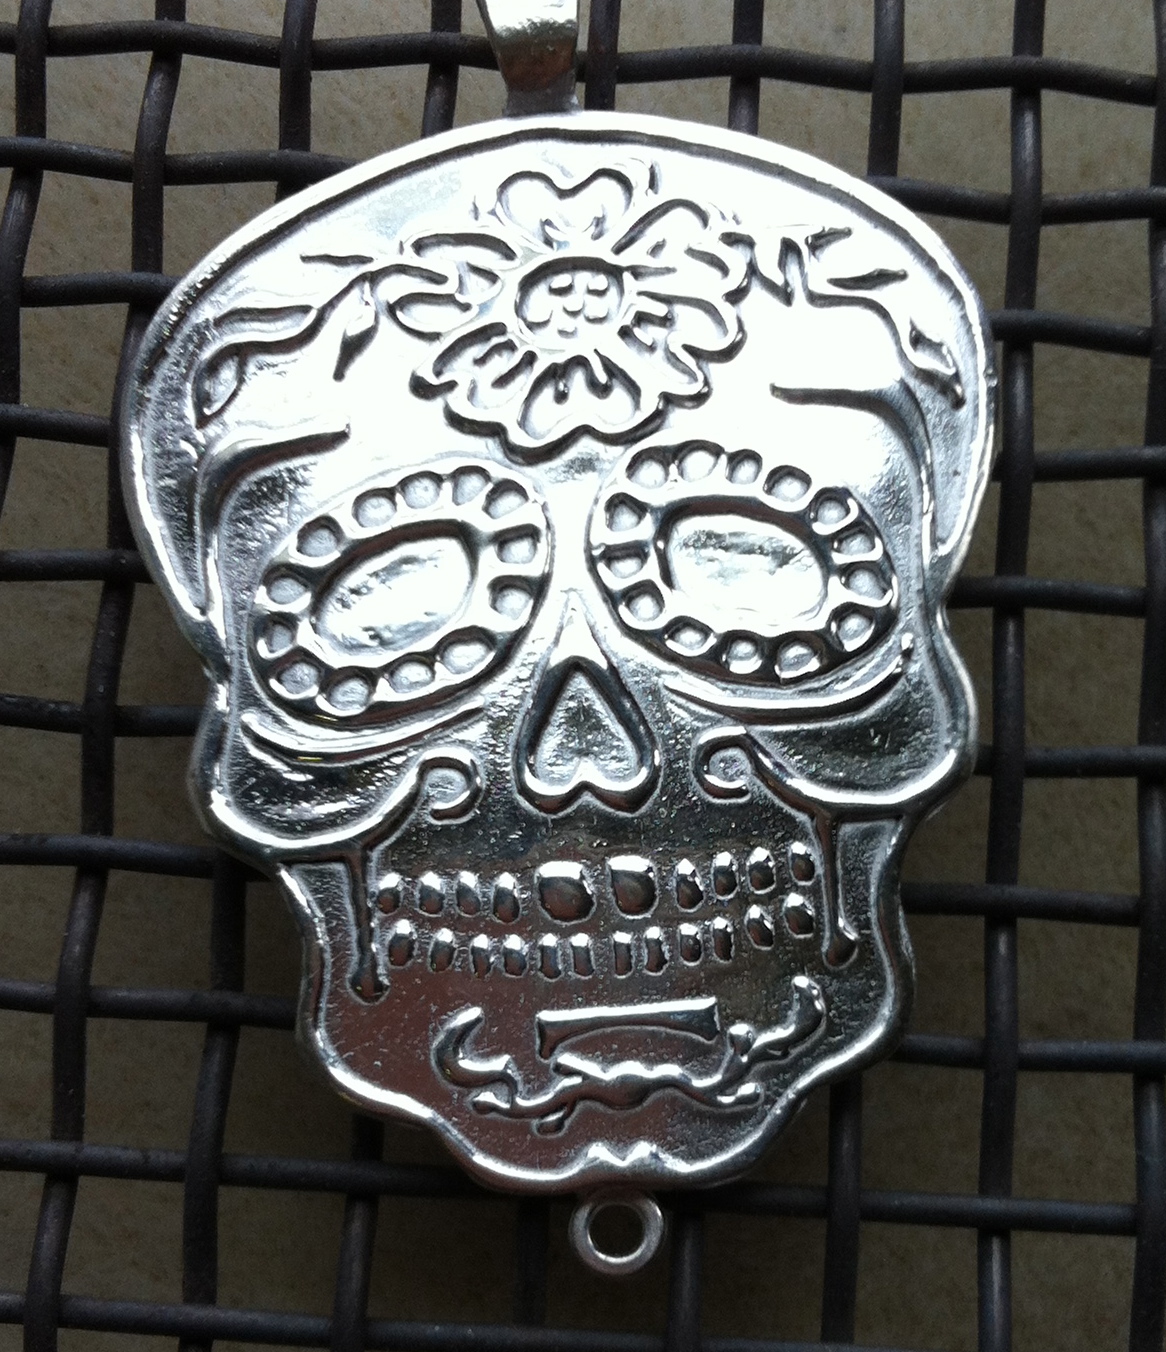
Remember..... what is black will be raised in the final piece.  This is what I wanted my finished pieces to look like........ This is not what my first few finished plates turned out like.


Sometimes after a design is decided on, it is necessary to invert the back and white to get the desired effect.  I inverted my drawing for some of my first plates.......... which gave them a whole different look than the one I was going for.    But........ it wasn't a failure....... just different.


This is what the design looks like using the first drawing.  This is rather large and is not yet finished as I want to add color in the form of resin or enameling.  


How it looks using the inverted drawing.  (This is unfired, dry clay.)
What a difference it makes.  

In my next post,  I'll share the photopolymer process itself.  (I just love making them and using them!)


Sunday, December 6, 2015

The making of a Sugar Skull - the design process

In my last post I said I would share the process used to create my sugar skull necklaces and earrings.    
The plan is to break the process down into several posts....... so stay tuned.

The first step in the whole process is designing what I want to make, in this case a skull.  I ended up making a variety of skulls but they all pretty much use the same process.  

The drawing for the skulls is created either free-hand, with the computer or a combination of both.  In this case I used them both.  I drew half the skull, scanned it into my computer, copied and flipped it so that the finished skull would be symmetrical.  (In the olden days I would have drawn half, folded the paper in half, held it up to a window and traced it.  This would have also given me a whole skull.)  Same idea....... different method.  

This drawing is then scanned into the computer and duplicated multiple times so I have something to draw on without redrawing the skull every time.  Several pages are printed out so I can try a variety of designs on the skulls.

The next step is to use a black magic marker and draw different designs for the skulls.  Then, back to the scanner.


As you can see (these are scanned copies of my marker drawings.)  I also play with size.  The reason is that the clay shrinks between 10-12% (If I use a third generation clay.)  And 30% if I use the original clay (which they don't make any more....... Damn.  It's kind of nice sometimes to have that much shrinkage.)  The first two designs were not used.  

 I do several pages of designs, shrinking them multiple times 10% at a time.  This process helps me see the finished size of the skull.  When done, I choose the size I want and then use the design one step bigger than the finished piece will be.  

The first two designs were not used.  The other two were used and I also made a plain skull like my original drawing.  (There was a method to my madness for leaving one plain. Will explain in a later post.)  

There it is.  The design process.  Takes several hours to complete and involves old and new art techniques.   


Saturday, February 9, 2013

Old School

Last Tuesday I watched NCIS (which really is a good show....... don't know why I don't watch it more often.)  In a nutshell it was about a young, brash (bad) techno guy who thought the NCIS team was outdated and technologically ignorant.  He thought he knew way more than they did and was unwilling to co-operate with them.  They set up a whole scam to make him think that things were falling apart and that his life was endangered.  He thought they were willing to give him over to the "really bad" guys and he talked.  How surprised he was when he found out it was all a set up.  Agent Gibbs told him "We did it Old School."

Well, today I did it "old school."  I was working on a commissioned piece that needed a photopolymer plate (check out some of my previous posts to find out what that is.)  Usually, I use technology to scan my drawing into the computer, play with it in Photoshop and print it out on acetate.  

 I did not have access to some of my technology toys so.........  I drew the design.  Traced it onto acetate (I did use a light box although I could have put it up to the window) and added the blackness it needed with permanent marker.  For the photopolymer process to work, the design on the acetate has to be very dark.   For that reason, I colored "both sides" of the acetate.   (Wasn't sure it would be dark enough but it worked perfectly.)  

I did happen to have access to my UV lamp, but I could have gone outside and danced around holding it up to the sun.  (Yes there was sun.)   Yay, it worked.  The piece is still not done but will get finished up tomorrow.  

Just goes to show that technology is nice, but isn't the only way to get things done.  It also goes to show that we don't need all the "cool" tools we think we need.  (Although they are nice to have.)

Stay tuned for upcoming pictures of the piece.