Friday, October 18, 2013

"Makin" It

As was mentioned in my post about the "Screw" Necklace, I used an extruder to make the sides of the necklace.

An extruder is a tool (mine was made for polymer clay) that pushes out a line of clay in a variety of shapes.  I haven't used mine that much and sometimes I wonder why.  It is such a handy little tool.


This is a Makin Extruder, which can be bought in any craft store.  It comes with a large variety of (for lack of a better word) templates.  These templates are placed in one end, the clay goes in the other end and then the handle is turned..... pushing the clay out through the template.  This creates a line of clay in the shape of the hole in the center of the template.  The templates come in a variety of shapes, triangles, squares, rectangles and circles to name a few.  


For the "Screw" pendant I used the square template for the outside edges.  I needed something to create the well that would hold the resin.  Since the size of the square extrusion was rather large, I cut it into fourths after extruding it.  The inside divisions were rolled by hand using a flat sheet of Plexiglas to make them more even.  

Another great feature of the extruder is it's ability to make hollow pieces.  (It did take me quite a little while to figure out how to use it.   Unfortunately it's been quite awhile ago, so I'm sure it will take me that long again.)  These templates push out something equivalent to a piece of "macaroni."  (Tried covering a piece of spiral macaroni once with metal clay paste........ it didn't work.)  


This piece took me a long time to make as I wasn't sure how I wanted to finish it.  I made the focal piece in a class and obviously my idea changed along the way.  I didn't finish it the way I thought I would.  (Hence the extra two holes at the top.)   


Tuesday, October 8, 2013

Heads or Tails?

I just finished two commissions back to back and they both were very challenging.  The first was to incorporate a "screw" into the piece and I wrote about it two posts ago.  

The second commission was to incorporate a 1943 dime into a necklace.  I guess I have to say the screw was more challenging to design and execute.  But, even though the idea for the dime came to me much easier, it too was a challenge to execute.  

Once again I didn't charge the customer for "all the time" I spent on the piece.  I was doing something I hadn't done before so I chalked it up to a learning experience.  

This time my personal challenge was to create "tabs" to hold the dime in place.  The tabs needed to be small enough so they didn't cover the dime too much.  They also needed to be made so the dime could be removed in the future if need be.  Since I'd never made tabs before, I wasn't sure how thick the clay should be and how high to make the pieces that would fold over the dime.  I also wanted them to basically be "invisible" by blending into the design itself.  

Another consideration was once again the shrinkage factor of the clay.  I needed to cut out a hole that would shrink just the right size to allow the dime to be inserted in the fired piece.  Once again the computer was my friend as I enlarged a scan of the dime to 118%.  I made a mold of the dime and used it to make a "stand in" so the tabs wouldn't shrink any smaller than I needed them to be.  

The leaves were each cut individually and pasted on one by one.  Talk about tedious.  I didn't put as many leaves on the back as those were to act as my tabs.

My next step was one of the most crucial in the making of this piece.  I HELD MY BREATH AND PRAYED IT WOULD ALL TURN OUT!  How's that for precise planning?

My method of madness worked and everything fit.  Since the silver is at it's most pliable fresh out of the kiln, I added the dime and started the process of bending the tips of the leaves over the dime. It was going well until one of the tips broke off.  Luckily (I live dangerously) there was enough other areas to hold the dime tightly in it's place.  There is no movement what so ever.  


Monday, October 7, 2013

Just for Fun

When I was starting to work on the "Screw" necklace I came across this doll leg.  (I found it when I was looking for a bone from one of the grandchildren's old games.)

Since I took so long getting the other necklace started I felt I should do something extra for my customer.  So........ just for the fun of it I made this "leg necklace" in honor of the broken leg.

It was fun!

Thursday, October 3, 2013

Biggest Challenge


This past summer a former student of mine (from my days of teaching elementary art) asked me to make a necklace for his daughter that incorporated a screw that had been in his daughter's broken leg.  Sometimes I have an idea immediately, but this time my mind was a big blank.  (Ask my husband..... this is nothing new.)


It took me quite awhile.  ( I was busy enjoying summer and kept putting off what I knew I needed to do.)   About six weeks ago, I finally just told myself "Do It!"  So I drew up some ideas, sent them off to the customer to see if any of them were what he had in mind.  

After he picked his favorite, my next challenge was to figure out how to actually make it.  There were several techniques that I've never tried before and I decided to try them in this piece.  

Some of the challenges:

1.  Getting the piece to shrink to the right size so the screw would fit.  That one was pretty simple as the piece is made 118% bigger than the final piece.  The scanner and the computer are invaluable as tools to figure this out.  (Although there is a metal clay shrinkage ruler that can also help determine the beginning size and I did use it too.)


2.  Making the sides thick enough to create wells to hold the items.  I could have rolled the clay out with cards but felt that I needed something thicker.  So, I pulled out my clay extruder (which I've used only once before to make a bezel tube.)  This time I used the square cam to extrude a thick square snake which I cut into fourths.  The inside dividers were rolled by hand.


3.  Next I had to figure out how I was going to keep the screw in place.  (I didn't fire it in place as I wasn't sure what it's chemical makeup was.)    I decided to try resin.  Never used resin before either.  I did some test pieces before I took the plunge.  (Nervously took the plunge!)  The screw is held in place with clear UV resin and the blue is also resin, tinted.  (Had the resin supplies for years.  It was about time.)

4.  Finding teeny tiny pearls was impossible.  So...... I made some.  Once before I "made" a pearl for a piece so it was no problem to do it again.  Just polymer clay and "pearl" powder.  The most difficult thing here was how small I had to make them.  I thought I had them tiny enough but still ended up cutting them in half to make them fit.  (Glueing them in was no picnic either!)

5.  Finally, hanging the piece on a cord created yet another challenge.  Originally I was going to put the three keys at the top of the piece so they would go through the cord.   I wasn't sure what type or thickness of cord I was going to use so I turned them and hung them by putting jump rings through the keys.  But, when using the same size of jump rings, the pendant didn't hang right.  I had no problem leaving the middle key without a jump ring but wasn't sure the customer would see it the same way I did.  So..... after some trial and error, I enlarged the two outside rings and left the center ring the same size.  

6.  The amount of time I spent on this piece was quite extensive.  I didn't really keep track but it took  days and days and days.  (Mostly because I wasn't sure what I was doing and because I was trying new things.)  The piece has lots of silver in it and lots of time but I didn't charge the customer for all the hours.  Instead I looked at it as a learning piece.  It made me try some things I hadn't tried before (and definitely will try again.)  The customer shouldn't have to pay for that.


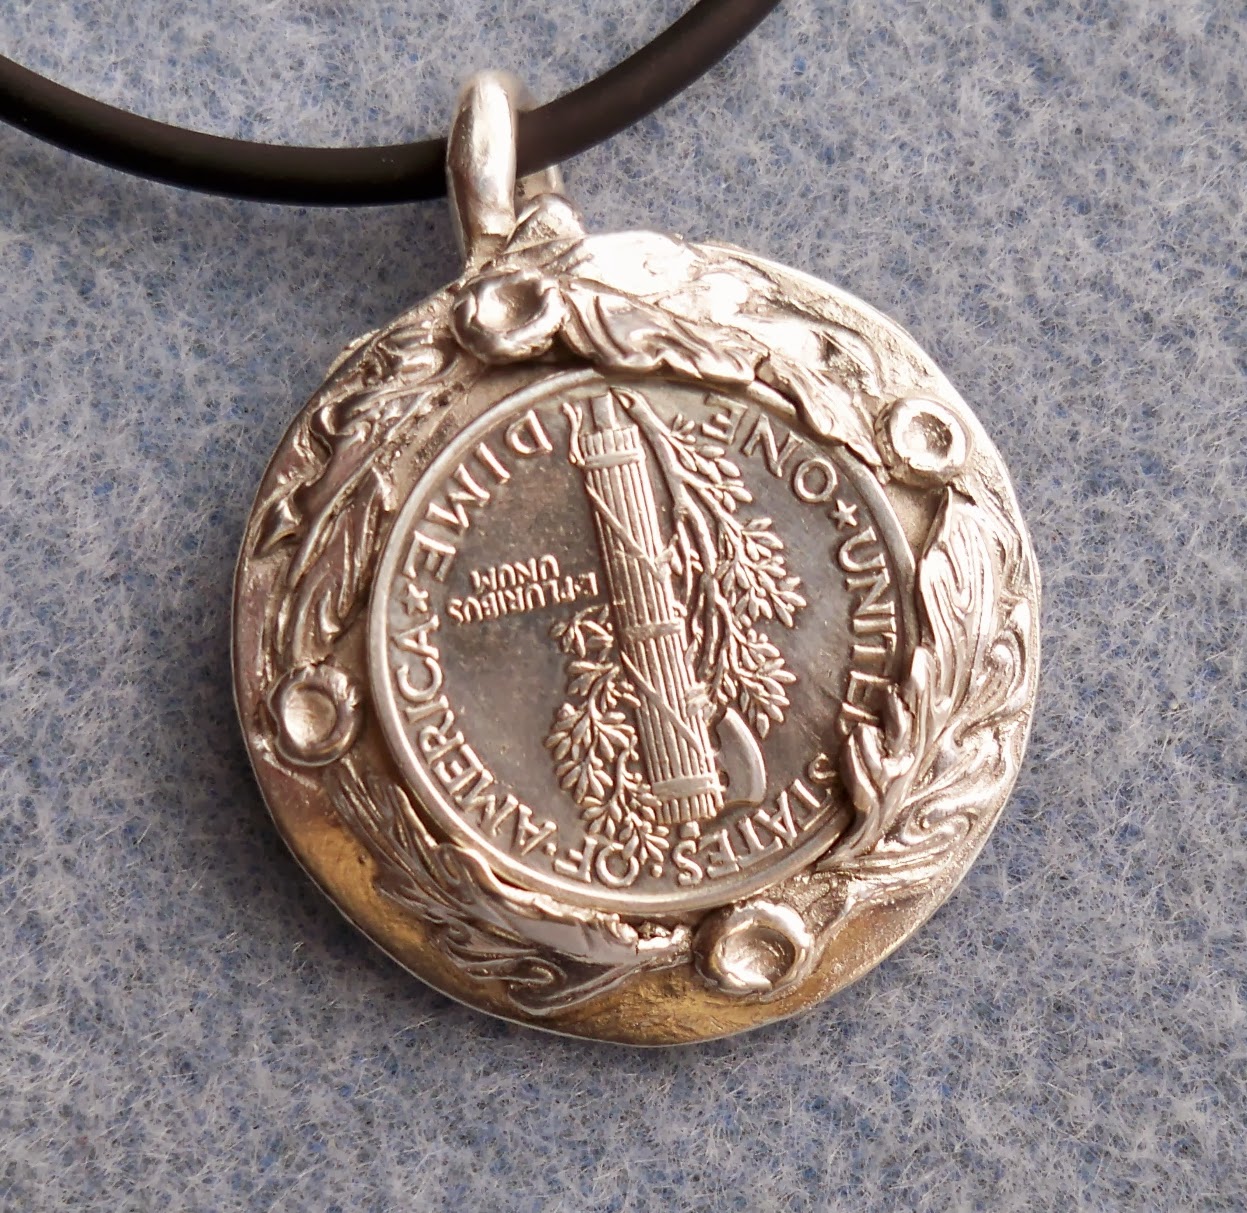
The back....... it's important too.