Yesterday I shared some photos of demo pieces from my latest classes. The left over clay earrings were not created with a ready made texture.
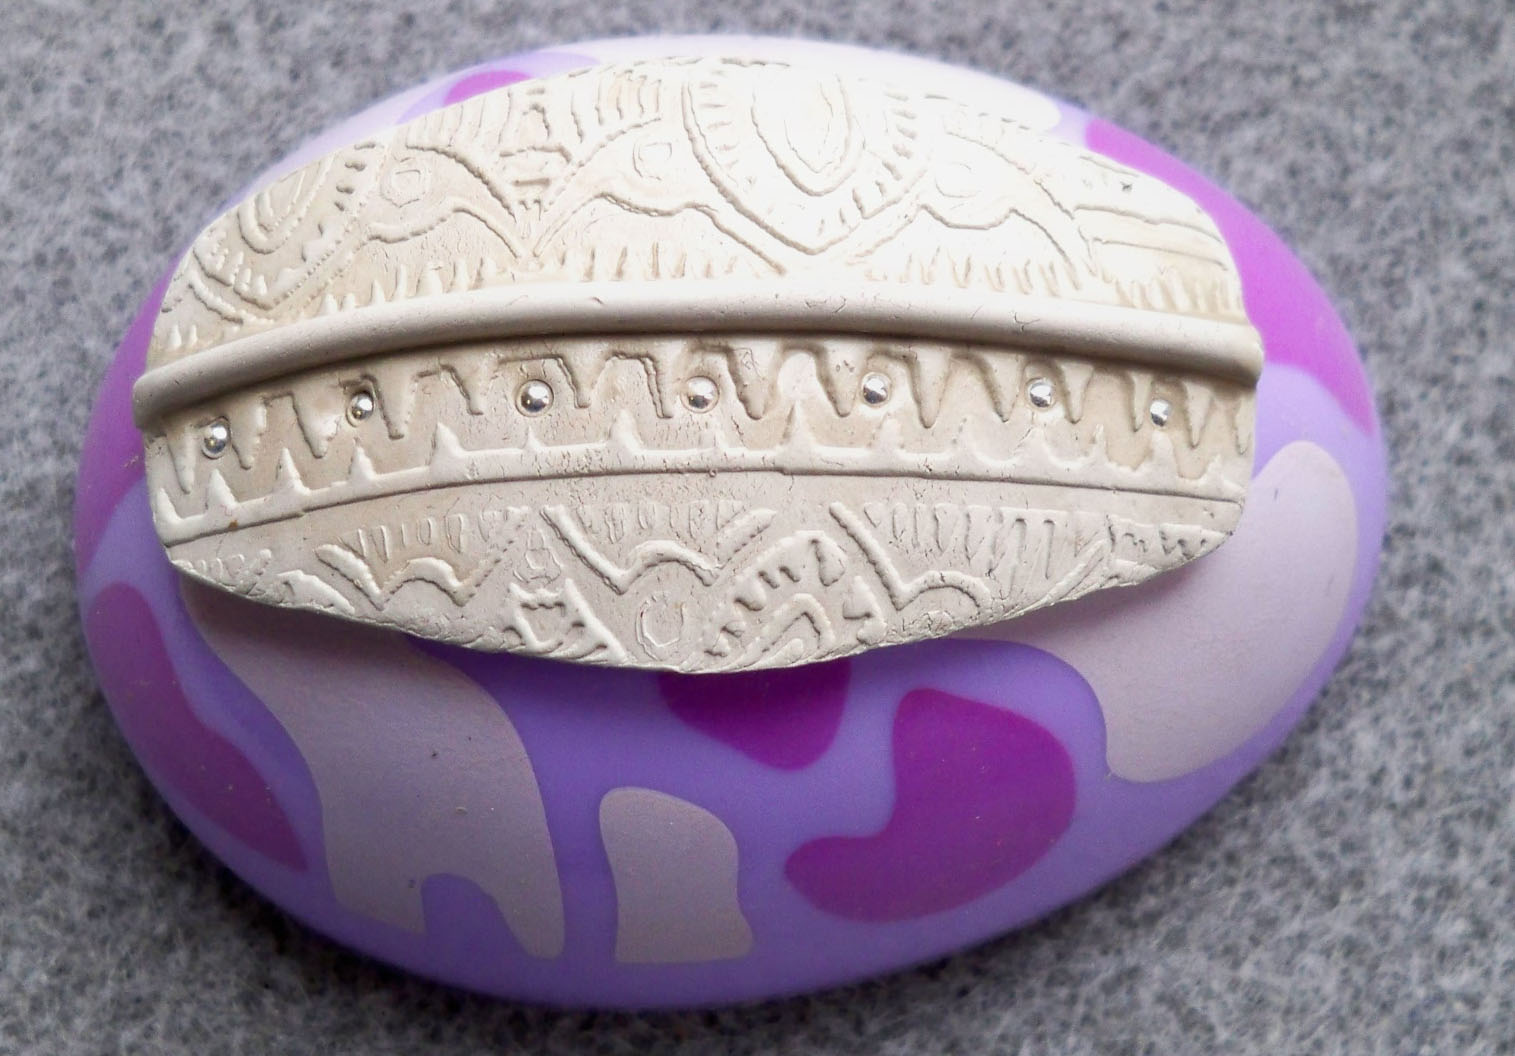
When first starting out in metal clay, it's easy and fun to use ready made textures. But, after awhile it becomes rather boring (and expensive.) Sometimes I make my own textures from polymer clay or PPP plates. On this pair of earrings I finally used some little tools I purchased years ago from Leslie Tieke when I took my PMC Connection certification class. I didn't know what they were or how to use them at that time. I just knew they were cute little kits with cute little tools in them. (I like little things.)
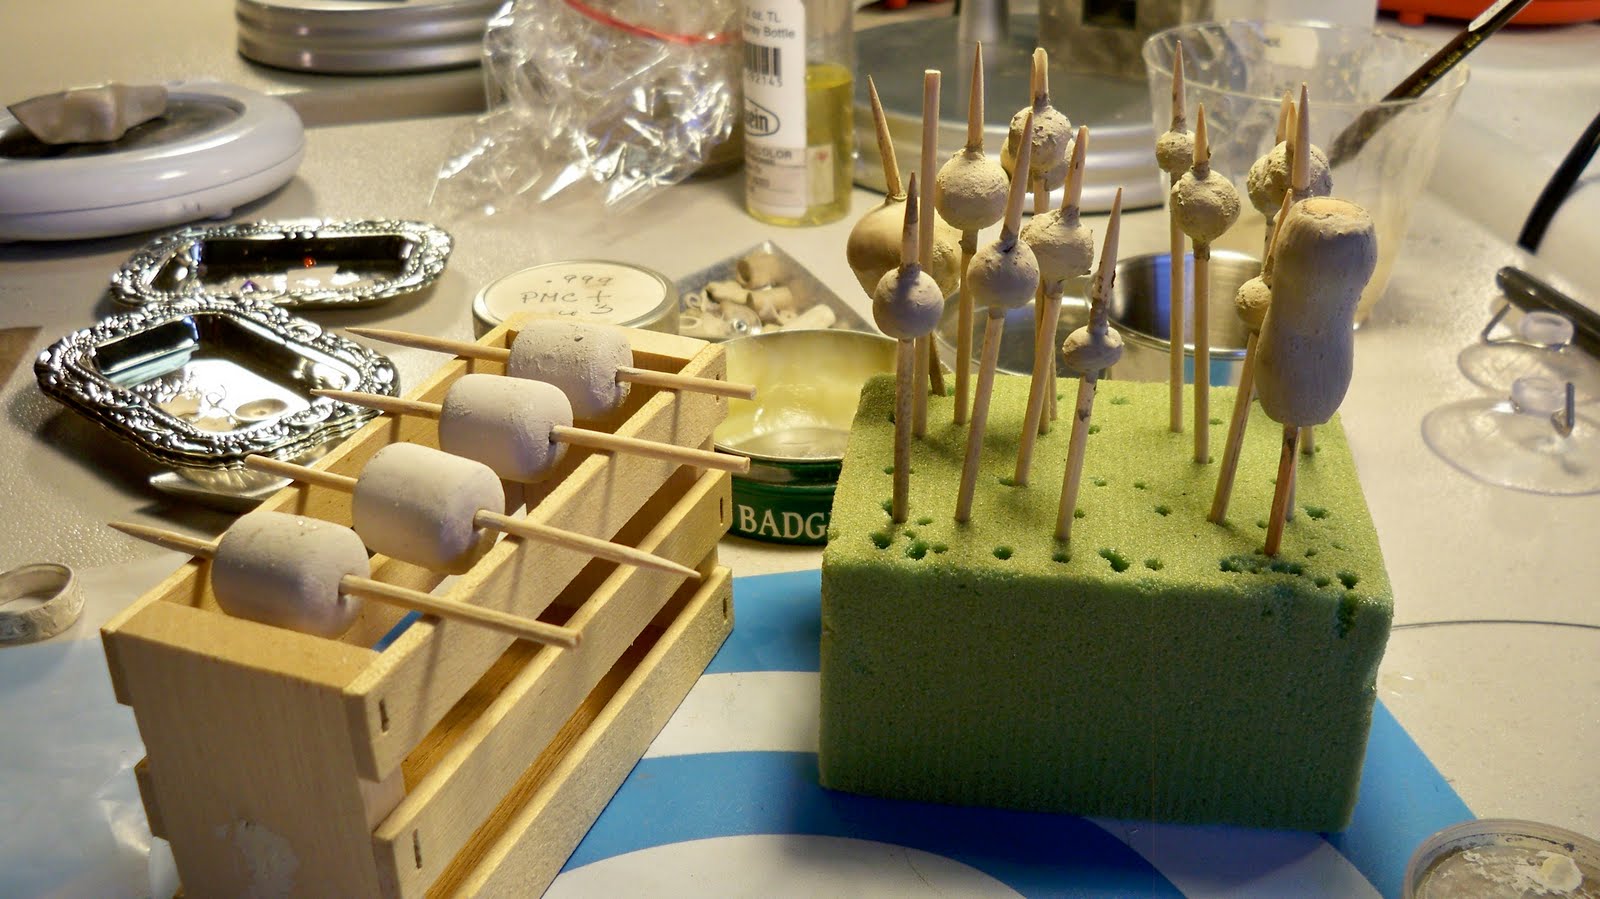
For these earrings, I created the texture directly on the clay. Some of the tools are little wheels with different types of edges on them. The other set of tools are shaped at the end. The pattern is random as I just rolled over the clay to test them out. Now that I've finally used them, maybe I'll create a series of textures with them.
Showing posts with label metal clay tools. Show all posts
Wednesday, July 24, 2013
Monday, March 18, 2013
Unexpected places
Tools can be as inexpensive (or as expensive) as the artist is willing to pay. The nice thing about working with metal clay is that it does not require expensive tools. (Which is a good thing, since the clay can be expensive!)
I've got an upcoming class and don't have enough of my student kits with me. So, it's a scramble to get a sufficient amount of tool sets together.
Some items were easier to just send away for. Things like tweezers, scalpels and burnishers were easy enough to get while I was ordering clay for the class. The Home Depot supplied PVC pipe for the roller, while JoAnn Fabrics supplied silkie necklaces and brushes. Decks of cards, pencil cases, cups, glue, and nail files were found at the Dollar Stores. (One of my favorite places.)
One of the most difficult things to find was the candle warmers I use to dry the clay. I couldn't believe how difficult they were to find (but find them I did........ after trying about six different places.) I also found one of those old warming trays that we all used in the 60's and 70's. (Guess I just dated myself...... again!) Now those are hard to find, but the local Thrift Shop was just the place.
Another unexpected place to find tools was Sally's Beauty Supply. I knew they had nail files (but for what I need the Dollar Store is cheaper.) But I found some "new" files there that will get into small places, where regular files can not go. (Didn't buy these for my classes but for me, me, me!)
They are on a rigid stick and are pretty coarse for quick filing.
Tuesday, April 27, 2010
High Tech
Working with metal clay requires very high tech sophisticated tools. Yeah, right........ they are anything but sophisticated. The clay is rolled out with a PVC pipe between playing cards. Then it is filed with sandpaper and nail files.
The metal clay websites are loaded with all sorts of fancy tools to buy. I've been suckered in on some of them (especially when I was starting out.) But most of them aren't necessary.
I can't take credit for coming up with anything in the tool line. Most metal clay artists (who have been working with the clay for awhile) know about these simple tools. I don't know who came up with some of these (like using playing cards to measure thickness.)
I'll mention just a few here. Like using a box with a hole cut in the top and a hair dryer which is much cheaper than some of the fancy dehydrators.
Metal clay will hold it's shape when dried over a form. A simple form for shaping the clay is a light bulb stuck in a cup or a plastic Easter egg. I've also used paint palettes and a mold for making jellybeans out of gelatin. One of my students draped her butterfly shape between two rubber blocks to give it the effect of flying.
Some sort of handle is needed when making beads or hollow vessels. Toothpicks and party picks come in handy for this, but then something is needed to support the picks while the bead dries. The photo shows a styrofoam cube and a small wooden box being used for support. When I was taking my Certification class, I was desperate to work on some small vessels. But, since we were staying in a hotel I had nothing to work with. The small bar of soap provided by the hotel did the trick. (We had brought our own soap with us. I didn't want you to think we didn't take a bath for the entire three days.)
There are many other simple, everyday items that work well as tools for metal clay. These are just a few. Please feel free to add to the list of "high tech" tools.
Starting a blog
metal clay,
metal clay tools,
teaching metal clay
Subscribe to:
Posts (Atom)